Wednesday, February 29, 2012

Pictures of Spring Fling projects


Here are a few pictures of the many beautiful projects we made this past weekend at the Spring Fling that Diana and Rhonda planned, organized, and coordinated!!  Many of the items used to make these adorable fun projects used products from the current Stampin Up Saleabration catalog, and some from the regular catalog.

 I actually got all of the things made during the day too!  I usually don't get all the things made at events like this, but have learned that if I can get most of them done, and then try to finish them up that week at home, I won't forget what to do LOL I changed up a couple of projects already using some more of the leftovers when I was taking these pictures...


I even took a few notes, but was disappointed that the cool tablet we have that is a great hotspot and video/flix taker, doesn't do well with taking pictures where the lighting isn't optimal.  So most of the pictures that I took were not real clear, blurry, or completed whited out - I could tell what the picture was suppose to be because I was there, but am finding that the quality of the pictures taken with our tablet aren't much better than my cell phone pictures...


After showing the tablet's pictures to my husband, he remarked to me that it was probably time to get a decent camera!  Yay!!  If you want to see some much better pictures of these great projects, you can go to Diana Gibbs' blog, because she has a super camera and takes excellent photos...


And we took home a bunch of leftover Stampin Up product goodies!  Already I am inspired with some ideas using my leftovers....I can't decide which of these projects was my favorite, but I know that quite a few of these pretty colors will fit right in with my craft room, which continues to make slow progress.
I'll show you one of the projects I made based on my leftovers later this week and a couple pictures of the shelves and baskets I just got for my craft room!

Saturday, February 25, 2012

Ruffles and ruching cards for swaps


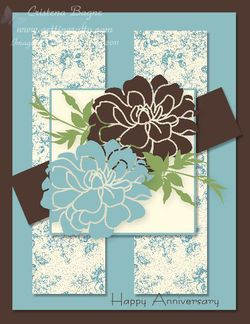
This is the card I made for swapping at the local Spring Fling stamping event that I went to today!  Well, actually this is the version I made for my swaps, which I did in island indigo and calipso coral.  The card that I made that inspired this card, which I handed in for my door prize ticket is below... Can you see the differences?

 On my original card I sponged coral ink behind the mixed bunch coral flower, and the center flower is edge sponged with coral as well.  Also the pearl is smaller in the middle than the cards I made to swap. The little flowers are from the boho blossoms punch - there are 3 flowers in this punch.

I had received my order of large pearls right after making my first card, so decided to try using one of them for the center, and it just didn't look right with the smallest boho blossom flower.  It was too small I thought.  Then I tried the middle flower and then the biggest flower but something just wasn't right.  So I put the other middle-sized and large flowers together and they looked "just right" with the large pearl.  I dabbed the flowers in the inkpad before putting them together with the large pearl - here are pictures of how the center flower was made:


Now that I started from the end of making this swap card, I'll tell you how to make it from the beginning!  In this case, it won't ruin the "story" since I already told you the ending LOL.  These are the supplies you will need, along with the large pearls - BTW, since we only had to do the card fronts, these directions are for card fronts only (4 1/4" x 5 1/2") whisper white.


First I prepared the card fronts, using calipso coral and island indigo, which were sponged on the edges, stamped the Happiness greeting from the Apothecary Art stamp set, and embossed the hearts edgelits on the left side of the cards.  I prepared 11 with the coral ink and 11 with the island indigo ink.


After stamping the Apothecary Art stamp with pool party ink on pool party cardstock, I cut it out with the matching diecut.  The stamp that I used is the smallest Apothecary Art stamp with flowers on it and a band down the middle; mine was in box #1.  I edged the stamp with matching ink and then put a strip of the red sticky tape on the band (this is where the pool party seam binding ribbon ruching will go).   I decided not to dab ink on the 22 swaps cards because you really couldn't see it.


In order to make sure the waffle paper strip I cut (about 1" wide) fit half of the Art stamp, I folded it in half to find the center.  I put the red sticky tape down the side of half the Apothecary Art stamp and adhered the waffle paper to it, starting from the center.  I made a little pleat about every 1/2" to fit the side of the Art stamp, and since I had only put the tape on half of the back of the Art stamp, I could easily tell how much more I had to pleat until the end.  

If you don't press the waffle paper down hard when you put put it on, you can simply pull it off to adjust your pleats - once you have the waffle paper pleats where you want them, you can press it down harder with your fingers.
 I trimmed the front of the waffle paper so it taped at each end and put dimensional pop ups on the back.

Now you're ready to use the pool party seam binding ribbon on the front of the Art stamp - I did some ruching of the ribbon on each end (which is like messy pleating!) and since the blossom would be in the center, I didn't do any ruching there.  You can see from the pictures how the ends were left long and trimmed to fit the card.


The mixed bunch flowers were stamped on whispering white cardstock in indigo or coral, punched out, and the edges were curled.  Dimensional popups were put on the back of the flowers, and then adhered to the cards.


The last step was doing the little flowers with the pearl centers, which was explained in the beginning of the post...Now you have the entire story!  This was a fun swap to do because I got to use so many new Stampin Up items on it!! 

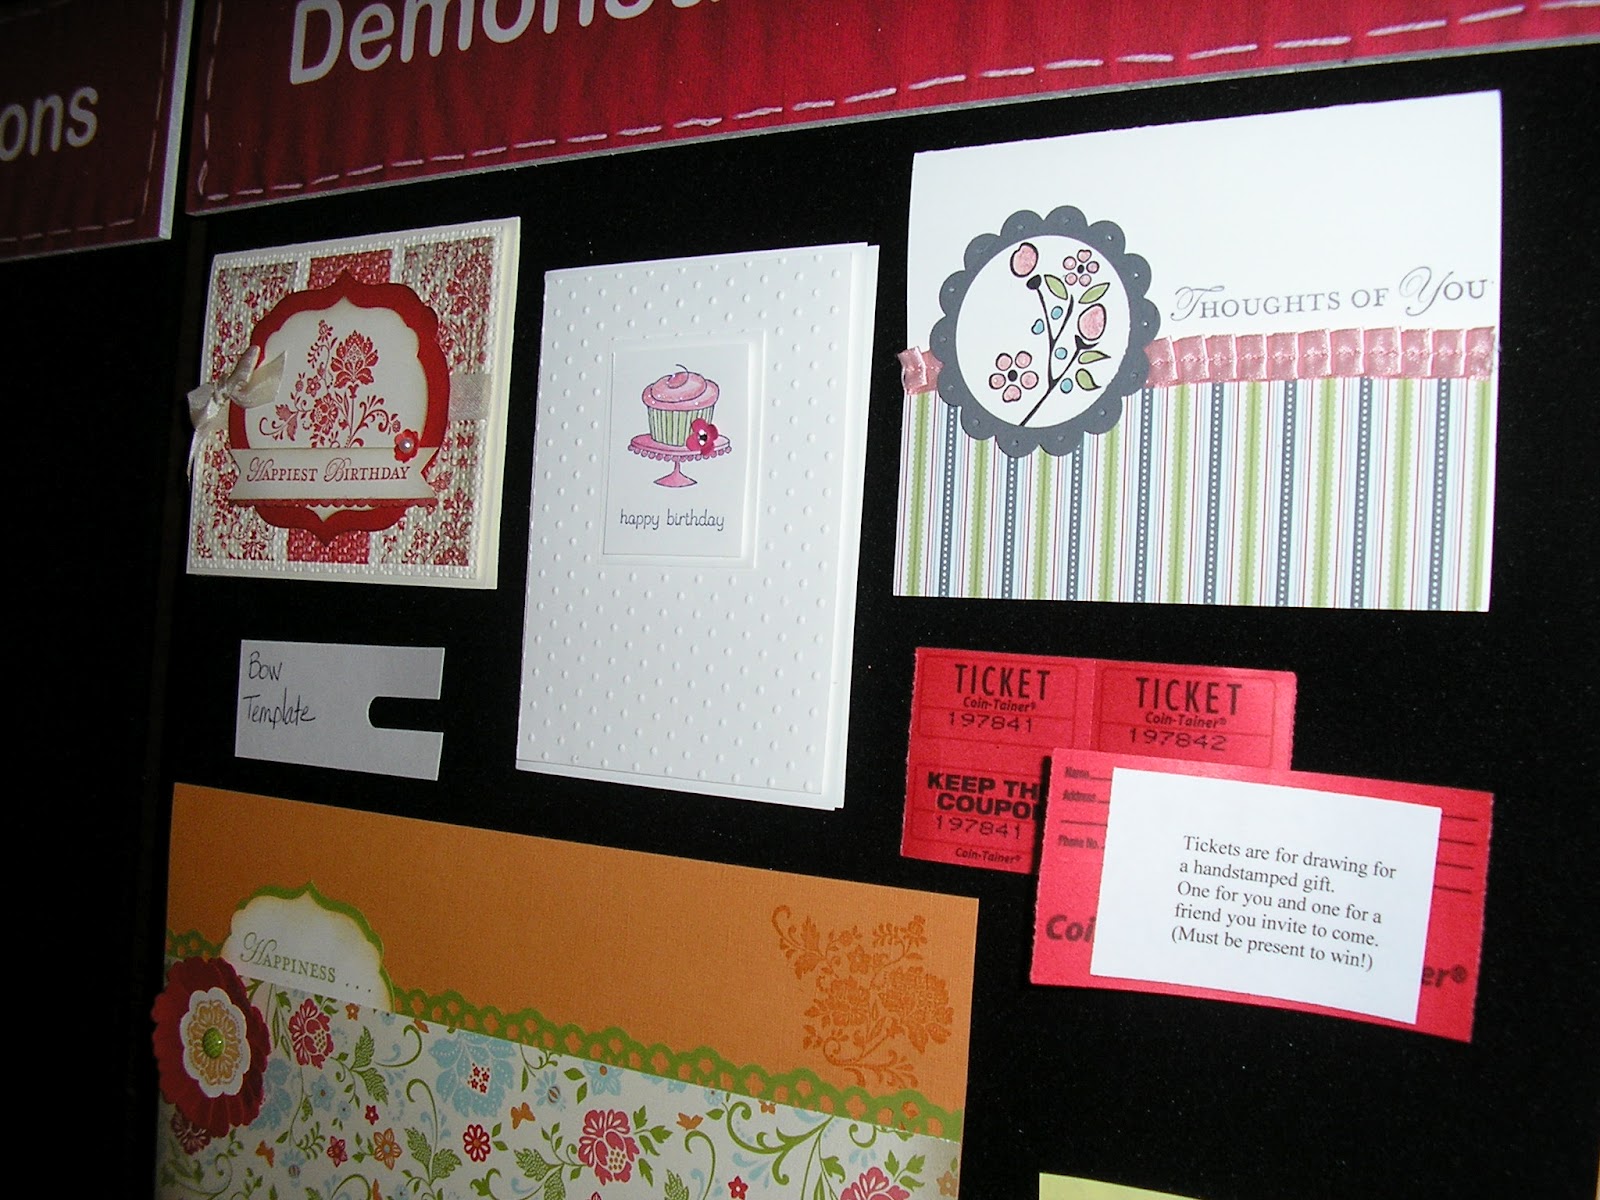
After I take the pictures that I took at today's Spring Fling stamping event off my disk I will post pictures of the beautiful projects we made, and some of the fun things we did!!  So please come back and check them out OK?


Thursday, February 23, 2012

Card sketch challenge #27 at Stampin Queens!


It's time for another fun card sketch challenge at Stampin Queens! 
Here is the card design sketch for week #27.


This is the card I designed using this sketch and My Digital Studio - the background designer paper is the new Twitterpated, along with touches of the color, island indigo.


Here's what the Stampin' Queens have come up with, using this week's sketch...


Grab your stamping supplies and join us!

Friday, February 17, 2012

Card sketch challenge #26; tie dyed card - ?


Here is this week's card sketch challenge! 
I needed to make a birthday card for my son, and wanted to make a brightly colored card with some grungey type stuff.
Here's what I came up with:


After I "dropped" the ink into the watery glossy card, which spread, I embossed the dryed paper and embossed it, then cut it up.  I also outlined the "ribbons" in white and black stitches using gel pens.  That's a little black rhinestone on the "o" in "got birthday." 


Can you see the little spinner that i put on the grungey part held on with a glimmer brad? 
Here are some more of the cards for this week's sketch challenge posted on Stampin Queens:


If you have some piece of designer paper and/or cardstock that aren't big enough for a card, this would be a great sketch to use them on, don't you think?  You can submit your card here too!

Just some things to think about as you play along:

You may flip or rotate the sketch, change or replace the shapes, but please make sure the general layout is recognizable.
Share a direct link to your creation, not just your blog, using the InLinkz feature at the end of  post on the link below. If InLinkz is down, please add a link with your comment.
  • When uploading to online galleries, please use keyword SQSC26.
  • If you'd like to be considered as a spotlight cards, please be sure to link your project by Monday at 9 p.m. PST and link your post over to the link below too.

Tuesday, February 14, 2012

Sunday, February 12, 2012

Stampin Up regional convention in Phoenix, AZ


I was able to go to the regional convention for Stampin Up today!  I was so darned excited to be able to sit right up front with Diana Gibbs too - she is the Watercoloring Wizard - takes a plain ole black and white stamped image and turns it into a work of art! 

And all the wonderfully creative exhibits and projects that were shown and the fun stuff I took home!!  Above are the make and takes with new Stampin Up items that I did - see how crooked my lines are?  I was too busy looking at everything to get them right lol.  Here are two of the great items that the ladies I sat with gave us:


Isn't that owl pin adorable?  And now I have to try doing the pansy butterflies, since I have the butterfly punch...

Of course I brought my camera, but after about 10 pictures, the batteries die :-(  And the pictures I took after that with my cell phone are fuzzy because it doesn't do well unless you have really good lighting.  But here are some of the better pictures:


This last picture (taken with my cell phone, so not the best quality) is everyone having our boxed lunches, which were provided too! 
Gee I wonder who those girls are in the front having fun??!!