Thursday, December 28, 2017

Happy holidays - 2018 calendar card


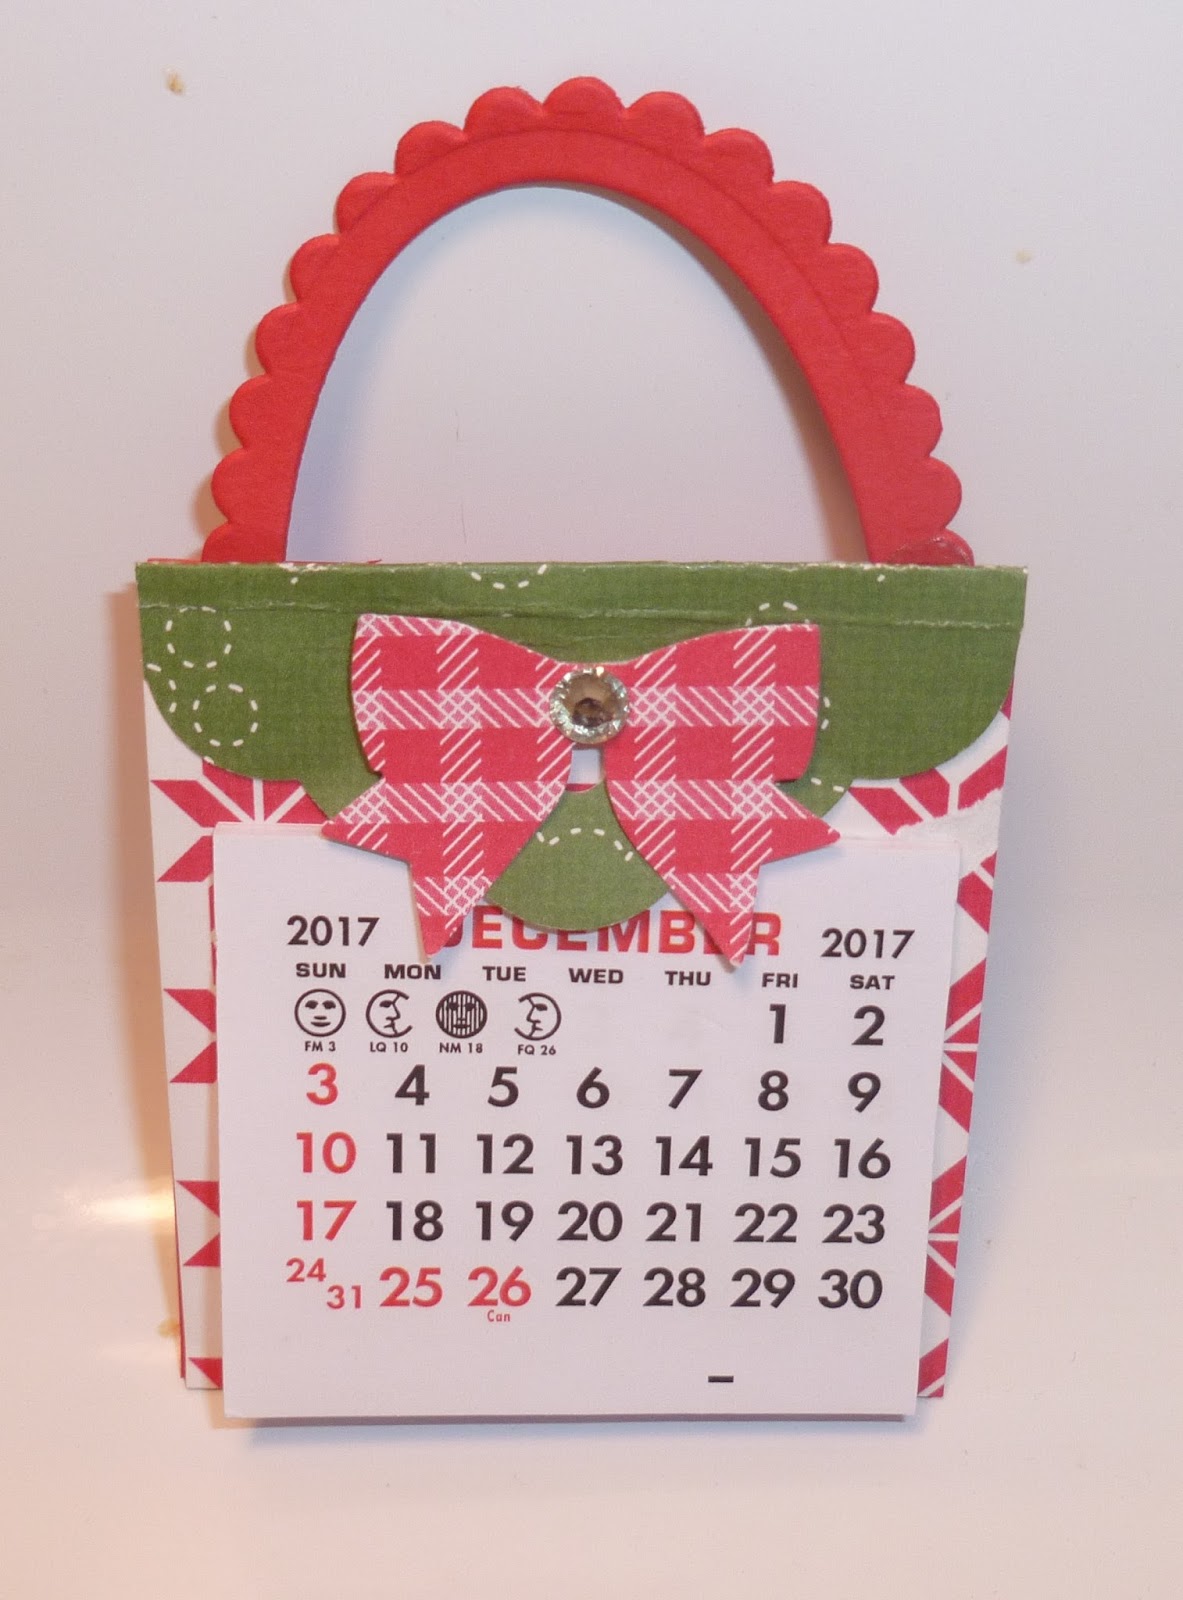
Hope your Christmas was awesome - and happy early new year!  For my Christmas cards I made a calendar card with a couple new Stampin' Up items that will be in the upcoming Occasions catalog:  Bubble Over Bundle (stamp set and framelits) and Bubble Up designer paper. The little calendars are from Vippies.  Here are a few more pictures of this card:


Don't you just love this color combo?  If you join as a demonstrator with Stampin' Up, you not only get discounts and free products, you receive advance access to future items, catalogs, and project ideas!  
More info about being a demonstrator, please look in my online store.  

Happy New Year!

Sunday, December 24, 2017

Christmas Eve decorations


Hope you are ready for Christmas, since it is tomorrow!  Fortunately for me, there are a few stores around here that are open 24/7, so I will be heading out to grab a couple more things lol, then come back and wrap gifts....I already sent out some to my sons and mother - here is the cute angel popsicle sticks ornament that I sent to my mom.  Wish I had gotten one for myself, but settled for taking pictures of it...


We also put up our outside lights and decorations - our theme is dogs, of course!  There are 2 white dogs, a red dog, and a Snoopy.


Did you put up outside decorations this year, and/or inside ones?  BTW, there a few new items in the Stampin' Up clearance rack - quantities are limited.

Have a great Christmas Eve and Christmas day!!


Friday, December 1, 2017

Christmas blog hop - a calendar project


The countdown to Christmas has started…Welcome to this month’s blog hop with Di's Country Inkers!  Our blog hop theme this month is Christmas/New Years. 

Since I make mini-calendars to enclose with my Christmas cards to my family, I wanted to share that with you...here is my purse calendar for this year:


Here is a picture of what the back of the calendar looks like:


These are the Stampin’ Up products I used:
Scallop tag topper punch (the tag is 2-1/8” x 3-1/4” & folded over at 2-1/8” for flap)
Layering ovals framelits (handle)
Quilted Christmas designer paper 6 x 6
Holly berry builder punch (small bow)
Real red cardstock (back 2-1/8” x 2”)
Rhinestone

The small self-sticking calendar is from Vippies – at www.vippies.com you can find the tutorial I basically used for my purse calendar.  Now I just have to make more of these calendars for my cards ASAP - Good thing they are easy!  I'll just make them up while I watch one of the many Christmas shows on television right now LOL.

You can get all of the Stampin’ Up products I used in my online store:  http://www.stampinup.net/esuite/home/marynoble/
If you like getting discounts, you could even join Stampin' Up in my online store!!

The next blog you will hop to is:


Enjoy her awesome project and the rest of the bloggers' designs as well.  Thanks for stopping by and have a great Christmas and New Year!!

Here is a list of all of this month’s bloggers you will be viewing:

Di         http://www.stampingwithdi.com

P.S. Here is one of our furbabies, Tootsi, who was close by when I was working on my project....ready to jump up and follow me if I should take a break and head to the kitchen!!  She is a mini-Australian Shepard about 7+ years old (a rescue).