

Faux Patina Swap Card
Today I wanted to share the details and pictures I took of this card that I used for a swap at the Spring Fling. The colors of Stampin Up ink that I used were: soft suede, baja breeze, old olive, chocolate chip, and early expresso.
Other Stampin Up supplies used were: doily, flower trim, white colored pencil, natural ribbon, houndstooth embossing folder, illuminate, white, crumbcake, and chocolate chip cardstock, dimensionals, window frame framelits, thinking of you stamp, and a brayer.
Here are pictures of how I made this card, step-by-step:


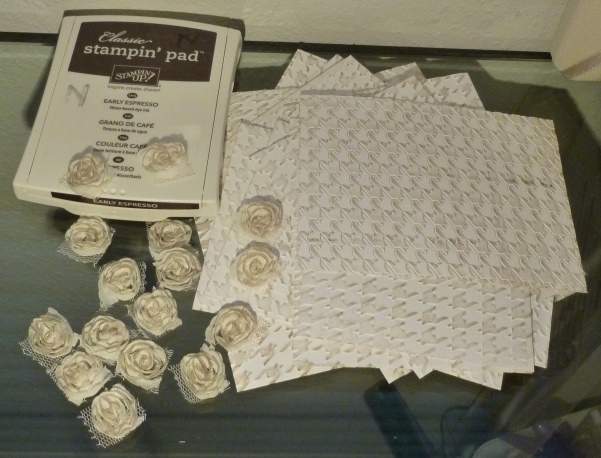
Brayer the ink on the inside of your embossing folder before running the paper through.


I found that I could also just brayer the soft suede color right on the embossed card for a slightly subtle difference, shown in these pictures. It makes the process go just a little bit faster.


Sponge the 3 colors on in this order: Baja Breeze, Old Olive, Chocolate chip. You can see the transformation with each of them - really pretty!


Embossed card on the left doesn't have the Illuminate on it yet, while the one on the right does. What a quick and easy way to make your card shimmery. Make sure you get the reinker for the Illuminate when you buy it so you can always maximize the shimmer! I just dab the pad on and press a little and move it around to cover the entire card.


White colored pencil added to highlight the dots and flower at the top and bottom of this.


I ran out of doilies so made up a few of the large doily diecuts in the First Edition designer series paper by Stampin Up, which looked really pretty too! A new trick I learned to get those intricately cut diecuts to come out more easily was to use wax paper on top of it. The lady that demonstrated this at the scrapbooking convention I went to last weekend and just then had to slap the cutting board a little to get the pieces to loosen up, and snap/shake it.
Another trick I have seen shown to get better cutting with complicated diecuts was to use a metal cutting board/shim and/or the no-more-shims tan rubber mat. I have to try these strategies out with my Stampin Up diecuts - what I have been doing that works really well was to cover the top of my diecut with clear packing tape, so the pieces hardly stick to it and sort of slide off. I have had to only pull a couple off with a piercing tool or pin.

If you want to see more cards with this technique, I think that it is also on Splitcoast Stampers.
No comments:
Post a Comment